
 |
| Burda "Sarah" shrug #8173. $2.00 download. 100% stretch (boiled) wool in eggplant from Stone Mountain & Daughter |
 |
| Lining from Gorgeous Fabrics. |
Thank God it's only two pieces. But it wasn't really cut in a way I could understand it. Maybe I'm just geometrically challenged. After transferring the pattern onto paper, I took one look at the shape, and scratched my head. Where is the front? Where is the back? There are no markings on the pattern except the grain line, two dots, and a pleat.
Since the wool was a little itchy, I used a crazy thin polyester print I picked up at Gorgeous Fabrics for a lining. I realized after stitching it together, I could probably wear it either way, and play with the opening a bit.


In case you decide to make this too, here are some quick instructions on how I figured out how to piece it together and get the right length for the sleeve.
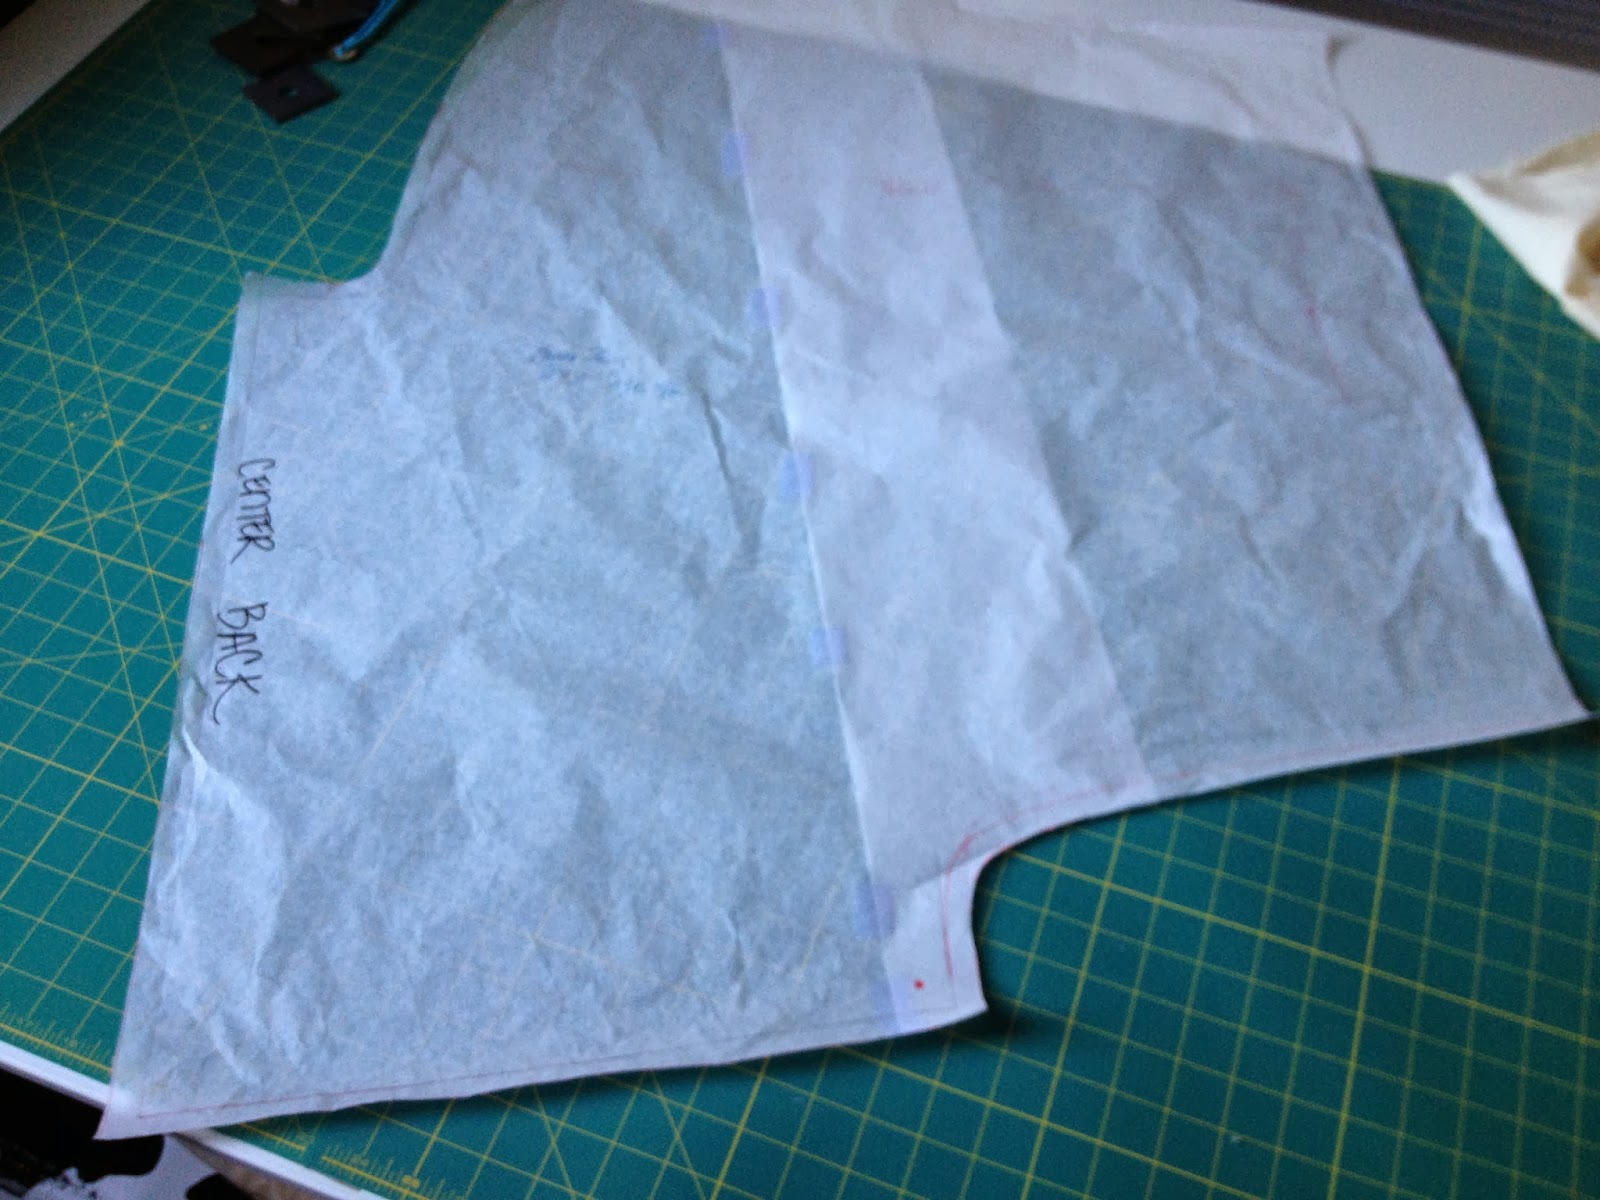
The paper was too awkward to maneuver on my dressform. So I cut the pattern out into muslin so I could work with the shape. After I found where the center back was, I marked it on my pattern. Here's the picture of the pattern. The center front line is the straight edge on the left.


I had to use a walking foot to stitch the lining to the wool. The wool was stretch and the lining was slippery. I found after an inch or two of sewing that I couldn't keep the fabric straight. The walking foot did the trick. I hand-stitched the lining to the sleeve opening. The rest I did by machine with right sides together, left a hole in the back collar (should have been at the bottom, but I forgot to stop there). Then I hand-stitched the open neck lining to the wool. I should have really hand-stitched the whole lining together like I was taught to do. But I was feeling lazy. I might rip it out and restitch it by hand if I feel like it's not hanging right. But it seems okay for now.
Because of the poor instructions, the slippery lining fabric, and matching up the checked print, it slowed me down a good 90 minutes. The actual sewing was super easy. If I had omitted the lining and used a plain fabric, this project would have taken less than three hours to complete. I ended up taking about 4.5 hours to finish everything. It is ideal for a beginner...but sadly, not the instructions.
The original sample from Burda looks like a "granny" shrug, especially if you add the trim to the edges. I really wanted to give it a modern look. Keeping the sleeve shorter helped, and the lining added more color to what I thought was rather drab. See it HERE.
Happy sewing!
No comments:
Post a Comment