Sunday, September 22, 2013

Sew-My-Stash-Away Weekend with Hart's Fabrics

More Victory Patterns can be seen HERE


A few of the ladies in my local sewing group went to Hart's Fabrics in Santa Cruz for a shopping field trip. They had a one-day 20% store-wide sale to kick off their September sewing event. I thought for sure I'd have enough time to get to my Hart's stash...and then September 21st rolled around and I realized I had done nothing all month.  So for the last 24 hours, I've been sewing like mad.

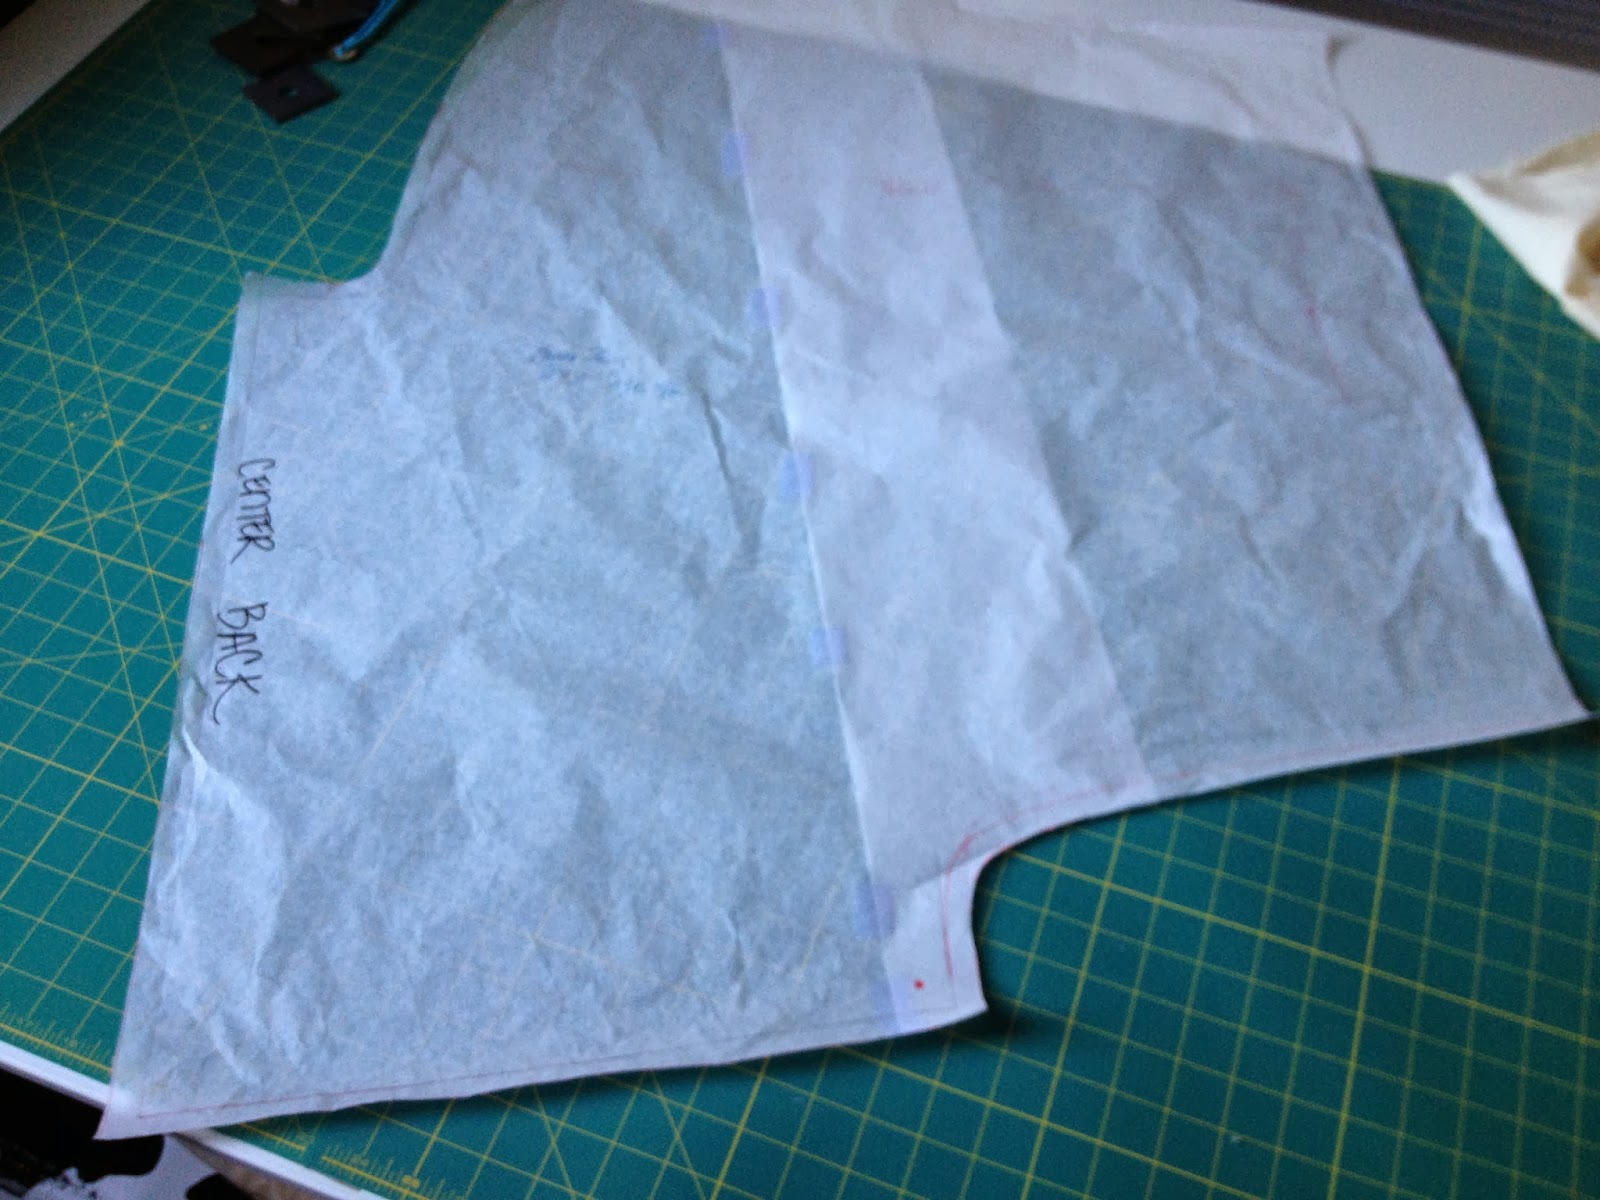
I decided to tackle the Lola dress from Victory Patterns. It took me a total of seven hours to complete from the time I opened the pattern to the photo. I messed around with the pattern for about an hour, and decided to test out my new roll of butcher paper. I think this is going to be one of those patterns that I want to keep and make over and over again. After I shortened the bodice by half an inch and the bottom half of the dress by one inch, I ironed it onto butcher paper. 

This is the first time I sewed something that ended up being nearly two sizes too big. Even though this is my very first Victory pattern, I decided that I am in love with them.  They have real people sizes, and they do give you a generous ease. I'm so used to sewing "big" when it really means "small" from the US pattern companies. They have so many cute designs too...if they weren't $20 each, I would have bought them all.  

I used a thin sweatshirt fabric, that I thought was too thin for this pattern, and had a tendency to sag and pull. I know it's a stretch fabric, but the weave was especially loose. If you decide on making this dress, find something that doesn't stretch as much. I decided to forgo top stitching because I knew it would stretch out the fabric more. Also the large pockets...well, are LARGE. The pattern wants you to make them a little droopy. It's cut wider than the skirt, and you match up the side seams to create a droop. I anticipated that this fabric would not hang well with such droopy pockets so I created flatter pockets. I wished that I had flatten the pockets completely.  Don't blame the pattern. It's just not the best fabric for this dress.  It also shed like a rabbit.

Notice the little decorative black point at the neckline? I originally used a piece of the black ribbing for this, but it got stretched out of shape. I used some leftover pre-washed wool jersey instead. I overlocked the edges, and then attached it using stitch witchery before sewing it onto the bodice neckline.  I wish the whole dress was glued to Stitch Witchery. If I wasn't so lazy, I would have used it on all the edges of the dress before sewing to keep the seams from stretching. (This is a "sewing-with-knits" technique that I did not use.) BTW, Stitch Witchery is my favorite iron-on magic tape. I used the thin rolls cut for hems. I might add it on the seams for my second attempt at this dress.


It really looks better on me than on the dress form. Here is a not-so-great picture of me wearing the dress.  I plan on making it again with some velour fabric, and adjusting the pattern down at least one size first.


Here's the dress turned inside out. It has terry cloth loops on the back side. So it could be a nice reversible piece, but due to its stretch issues, I couldn't do it this time. This dress is meant serger sewing, and there's 1.5 cm seam allowance. I haven't used my serger in a while, so I was a bit rusty. The differential foot probably saved my dress from being completely pulled out of whack.

This is an "intermediate" level pattern. It's really not that difficult to sew.  There are a ton of pieces, and it's always tricky using stretch knits in general. It is not a pattern for the faint of heart, and it will take you more than four hours to complete from start to finish.  Faster of course, if it's not your first time.  I'll update this post with my second version once completed. I'm really excited about making more Fall/Winter/Holiday wear.

I also used another piece of fabric from Hart's to make the KWIK SEW bow-tie blouse I made last week.  I just updated my earlier post. See my final version of the blouse HERE.  Making something twice in the same week can really speed up the repeat version. 

Happy sewing!

UPDATE: I did not pre wash the sweatshirt fabric before cutting and sewing the Lola dress. I took some big chances I know. But the dress turned out almost two sizes too big for me, so I decided I didn't have much to lose by throwing it into the washing machine and then the dryer. It shrunk...luckily down to the perfect size! The dress shrunk in all the right places without any distortion. This was pure dumb luck...and I'm not sure if I would be this lucky next time I decide omit pre washing cotton. 

Friday, September 20, 2013

Sew-Away-My-Stash: Burda "Sarah" Shrug with Tutorial

Burda "Sarah" shrug #8173. $2.00 download.
100% stretch (boiled) wool in eggplant from
Stone Mountain & Daughter
Lining from Gorgeous Fabrics.
This was my second Burda pattern. I thought it was a fluke that I couldn't understand the instructions on the first Burda pattern. Go back and see my Spring Lace Dress HERE. I officially think their instructions suck. The "Sarah" shrug had instruction examples for another pattern, and then about a paragraph that was related to the actual piece. The only comprehensible thing was: match the shoulders at the dot.

Thank God it's only two pieces. But it wasn't really cut in a way I could understand it. Maybe I'm just geometrically challenged.  After transferring the pattern onto paper, I took one look at the shape, and scratched my head.  Where is the front? Where is the back?  There are no markings on the pattern except the grain line, two dots, and a pleat.

Since the wool was a little itchy, I used a crazy thin polyester print I picked up at Gorgeous Fabrics for a lining. I realized after stitching it together, I could probably wear it either way, and play with the opening a bit.


In case you decide to make this too, here are some quick instructions on how I figured out how to piece it together and get the right length for the sleeve.

The paper was too awkward to maneuver on my dressform.  So I cut the pattern out into muslin so I could work with the shape. After I found where the center back was, I marked it on my pattern.  Here's the picture of the pattern.  The center front line is the straight edge on the left.

 The pleat marking is on the right, shorter straight edge.  You see it here. This is actually the end of the sleeve. Not really a cuff, but an actual style line for the sleeve.
Once I cut the muslin out, I pinned it together to see how it draped on the dressform.  The first thing to do is pin together the pleat at the wrist opening. It is an inverted pleat. so it looks like this on the right side.
Then match up the dots together on the shoulder area. These are the marks you transferred over from the original pattern along with the pleat and grain line. Then pin the underarm seam.

 This is what half of your shrug will look like after it's pinned.
Now drape it on the dressform or put it on to check the length, especially the sleeve length. I found the sleeve a couple inches too long. So I cut off an inch before cutting the real fabric. Here are the front and back of the half muslin.

I used a stretch wool fabric with a simple checkered pattern. It's difficult to see the print, because the pattern lines are very thin and almost blends into the main fabric color.  In hindsight, I would not have used a printed fabric.  The only place I was able to match the print was at the center back, and pray it all worked out in the front too. The front was actually more symmetrical than the back on the completed shrug.

I had to use a walking foot to stitch the lining to the wool.  The wool was stretch and the lining was slippery. I found after an inch or two of sewing that I couldn't keep the fabric straight. The walking foot did the trick. I hand-stitched the lining to the sleeve opening. The rest I did by machine with right sides together, left a hole in the back collar (should have been at the bottom, but I forgot to stop there). Then I hand-stitched the open neck lining to the wool.  I should have really hand-stitched the whole lining together like I was taught to do. But I was feeling lazy. I might rip it out and restitch it by hand if I feel like it's not hanging right. But it seems okay for now.

Because of the poor instructions, the slippery lining fabric, and matching up the checked print, it slowed me down a good 90 minutes. The actual sewing was super easy. If I had omitted the lining and used a plain fabric, this project would have taken less than three hours to complete. I ended up taking about 4.5 hours to finish everything.  It is ideal for a beginner...but sadly, not the instructions.

The original sample from Burda looks like a "granny" shrug, especially if you add the trim to the edges. I really wanted to give it a modern look. Keeping the sleeve shorter helped, and the lining added more color to what I thought was rather drab.  See it HERE.

Happy sewing!

Tuesday, September 17, 2013

Sew-Away-My-Stash Tuesday - Updated!!!


KWIK SEW K3782
See the pattern HERE
UPDATED:

I just made this pattern again (for real this time), using fabric I purchased at Hart's Fabric earlier this year. It is bright (has yellow in it), and drapes beautifully. Even my daughter liked it, and wants to borrow it sometime.  What do you think? What a difference from my muslin which was a beast to sew with. I think the muslin can still be my beach cover-up. Which was what I intended for the fabric when I first bought it.

For this version, I added thin knit woven interfacing that I purchased from Fashion Sewing Supplies for the armhole facing. I don't think it's really necessary, but it does help keep its shape.  I made sure to measure the tie collar before sewing it in this time. I also shortened the blouse an inch so it could sit nicer on my hips without tucking it in. For the hem, I folded up one layer and straight stitched it, and then hemmed it another inch by hand. I think lighter fabrics drape better this way.

The second version took me about two hours to complete. It's nice to know that I can whip up one of these in an afternoon for every season.  Happy sewing!

ORIGINAL POST STARTS HERE:

I was really attracted to the color yellow this past Spring. Almost every piece of Spring/Summer fabric had some shade of it in there.  It was a part of my color palette and I had high hopes to get everything done before Fall. So I thought. Here I am in September still chipping away at my stash.

It's Wednesday in California, and it took me about four hours to complete this top from start to finish. I had to copy the pattern because the other view had sleeves, and I wanted the option of making it with sleeves later. The arm hole was different for this View B of the KWIK SEW pattern.

Here is is tied into a bow. I like the bow better.
This fabric is horrible to work with, and I almost threw the whole piece away when I got to the arm hole.  I knew it wouldn't be easy but I had hope that it would be one of those days that everything would just go perfectly smooth. But it didn't. Had I used a different fabric, I would have been finished in less than three hours.

Not only is it chiffon, there are tiny round plastic sequin glued onto the print. I don't know if you can see it in the photos.  I couldn't iron it without using a press cloth, and being polyester, the seams just never laid flat.  Pressing was painful and dangerous since I feared those plastic buggers might melt onto my iron.

I was going to make a swimsuit coverup with this fabric, but decided to test out this pattern before I use a nicer slippery fabric. I also played around with my rolled hem foot, which was shockingly easy to do with this ridiculous chiffon. I made a boo boo with cutting the front tie. I transferred the marking wrong, or the pattern is off. (I don't know because I haven't gone back to check the pattern yet.)  I recommend matching up the tie to the neckline before sewing the edges of the tie. I had to go back and unstitch some of the tie and repin it to match the notches on the corner. Unmatched seams in the front would be exposed and the casing in the front too short. I was going to make the casing wider, but the blouse is cut slightly at an angle at the front neckline, which would distort the shape where the tie inserts into the casing.

A quick note...this is my second KWIK Sew pattern, and I have to say that I really like the quality pattern paper, and generally easy and simple instructions.  I could never understand why the patterns were so much more expensive, but now I do. I also found with both pieces that the measurements and sizes were very realistic and I didn't have to do any adjusting. I think I'm going to collect more KWIK Sew patterns in the future.  They really save me a lot of time, even though they are a few dollars more.

Happy sewing your stash away too!


Monday, September 16, 2013

Sew-Away-My-Stash Project - Two Hours

Kwik Sew 3801 Pattern, view from the right.
Get it HERE
After filling my stash cupboards to the brim with new fabric...I am officially on fabric-purchasing hiatus. I know, I keep saying that, and I can't seem to stop acquiring new stuff.  It's for real this time. The only thing I'm going to let myself have between now and the end of the year are notions I need to complete the project.

I don't know about other sewists, but some days I just don't have the time or patience to start a detailed project that I know will take me eight hours or more to complete. More often than not, I need instant gratification...particularly on days where I feel like I didn't get much work done.  Today was one of those days.

Enter: accessories. Sewing them are easy, useful, and make a great size-free gift. A couple of weeks ago it was my reversible linen tote bag, which I completed in one go from start to finish. Best gift I ever made in a couple of hours.  Today it was this shawl/cover-up/top piece.

I want to give Joann's Fabric a shout out, because I have found some pretty crazy prices at their discount table. Coupled with an additional 50% off coupon, I was able to get pieces for $4-6 dollars a yard. And if you buy the whole bolt end, you'll get a little more off the last quarter yard or so.  If you dig hard enough...you can find a gem. I consider this lemony knit one of those hidden gems.

View of the top from the left. This is really more 
a shawl than a top, and would look great worn over 
a pretty sleeveless dress. 
This little fancy knit number is a loose weave made to mimic a knitted lace, and it's decent quality considering the price I paid.  It came straight from the discount table this past summer, and being an end-bolt piece, I got a little more off the final price. I am certain this one and five-eighth-yard of fabric cost no more than six or seven dollars. The Kwik Sew pattern I used might have cost about the same price as the fabric.

I am not sure about the fabric content, but it is definitely a blend of some sort. It feels like a cotton, but it's not.  I know this because it pre-washed well in a lingerie bag in cold water, and survived the dryer on low with very little shrinkage.  Maybe some of you sewists out there have this knit in your stash and can let me know.

Sleeves work like a Kimono cut. They are almost
three-quarter length, and fit very snug in the forearm
area.  Make sure your fabric is stretchy. 
I have to admit that I was a little lazy with the seams. I also didn't have clear elastic for stabilizing the back neckline.  (I've got to add this to my stash...and you can get it HERE at Fashion Sewing Supply. It's great to use and nearly invisible.) I just used a remnant piece of white elastic for the back collar. I serged everything except the hem, which I used a long and wide zigzag stitch.  I didn't bother to hem the sleeve and just freehand zigzagged it on the machine.  It created a nice little ragged look that I wished I used for the hem.  If I wasn't so lazy about adjusting my serger to a rolled edge, I might have tried it on the seams, but I didn't feel like playing around with it and wasting time. The fabric was tricky to work with because the edges kept rolling up onto itself, making a clean seam challenging. If it wasn't for this, I might have been done a half-hour earlier.

Careful with the hemming! A rolled edge is best or you have to stitch the hem in different directions so it's less obvious. This is because of the way it wraps in the front. I had to drape it over my dressform to figure out which direction to hem it. But if you're doing a rolled hem...no worries.

It is long enough to cover my backside. I am 5'3" 
and it wasn't too long for me.
This was just a muslin, but it turned out so well that I can actually wear it. The pattern is almost fool-proof, and the fabric is forgiving for the most part.  I didn't even use matching thread, just off white, and you can hardly notice.  This pattern is almost a one-size-fits-all type of piece, even though there are four sizes available. I sewed it in medium which matched my bust size. I was going to shorten it, but I'm glad I didn't. The finished length was about 28 inches, and I like how it covered my backside. There's a huge amount of ease in this top too.

Happy sewing your away your stash too! (I know you got some.)


Sew Berkeley!


Fashion fabrics at Stonemountain and Daughter in Berkeley, CA.
I once lived in Berkeley for more than ten years.  This was a hectic but inspiring period of my life. I became a new mom not to just four little kids but to my Bernina and first serger sewing machines. With quality new machines, my love for sewing blossomed.  I stitched weekly through each pregnancy and in between breastfeeding.  My need to hone my skills eventually lead to my attending a local fashion design school...an education that solidified my love for the art of fashion.

With new sewing tools, meant getting new supplies.  I conveniently lived stroller distance to Stonemountain and Daughter, which was a humble two-story shop where the owner (father) did most of the purchasing while the daughter ran the shop. He also used to pick up a lot of bolt-ends from design rooms in Los Angeles. It's changed a bit, and it's noticeable more "daughter" than "father," and there's almost a whole room dedicated to quilting fabric, which was an add-on when they took over the former car repair shop next door.  It was also at this store where one of the sales ladies loaned me a small collection of vintage fashion books, and opened my eyes to the history of clothing construction.  Discovering Lacis came after this introduction, but it was this kind of generosity that added fuel to my insatiable hunger for textiles and clothing construction.

My local Meetup group had a "field trip" this past weekend to Berkeley which included 13 sewists from around the SF Bay Area. Although half the group were new, we instantly connected at the doors of Stonemountain and Daughter. Many had never ventured into fabric shopping in Berkeley.

The owner of Stonemountain, Suzanne just marked down many fabric bolts...all at 50% off.  The pickings were ripe that day. Everything I bought was on sale, including some interfacing.  I spent $158 total, which included tax and a $5.00 Vogue pattern. I walked out with some amazing pieces. The most expensive was $11 a yard of 100% wool, and the cheapest was $3.75 fuschia-colored polyester chiffon. I thought I showed some self-restraint. Over lunch, we did a quick tally of how much everyone spent, and concluded that amongst the 13 of us, our combined total was close to $1,500. Not everyone in our group was an experienced sewer so their planned projects were limited. But everyone was inspired to buy something.

Good selection of ethnic prints.
Sample of their in-store creations from some very unique pattern makers. 
They carry a good range of independent pattern companies. 
Large fat quarter selection.
Almost a whole room devoted to quilting textiles and supplies. 
Stonemountain and Daughter has a large button selection that
rivals the upscale downtown SF store across the bridge.  
Our second stop after lunch at a local Ethiopian restaurant was Lacis. This is one of those stores that everyone needs to stop by at least once.  My first experience here was a private showing of antique lace and clothing personally chaperoned by co-owner Kaethe Kliot.  Mrs. Kliot passed away in 2002, followed by her husband Jules in 2012.  The store's new curator is Erin Algeo who worked at Lacis with Jules up until his untimely passing in 2012. Erin is who I speak to when I need any detailed help. My last trip to Lacis, she helped me with corset supplies, and this weekend, she gave me great suggestions for collecting supplies to start my tambour embroidery practice.

I don't have an elderly relative with mad hand-stitching skills to learn from. Lacis is essentially my surrogate. I consider myself lucky to even have a place like this and I would mourn the day, should this gem disappear.  Dreamed up because of a love for lace making and preservation, this museum is one of Berkeley's greatest treasures and important legacy for handcrafters worldwide. Stepping into Lacis is a history lesson for all and a place to learn to be a part of preserving an art that cannot be lost as long as we continue to stitch and adorn by hand.

Lacis has expanded from it's one room location, to now a sprawling two space building including an ample bookstore with a myriad of handcrafting book topics. They have a bustling online business now with a separate warehouse. There's always something on exhibit and the sales attendants are extremely helpful. See the resource links at the bottom of the blog for more information. Lacis has the best selection of hand sewing needles that I have seen.  

Some of the ladies in the group picked up vintage patterns, a miniature crochet hook for beading, and a lovely piece of vintage fabric. But all of us enjoyed looking at the lace making tools and vintage fabric and trimming in the adjacent "wedding" room.  I call it that, because they house everything a bride would need to recreate a beautiful gown. But it's also their museum.  I remember purchasing a vintage linen handkerchief trimmed with handmade lace and blue silk ribbon for my sister-in-law's wedding from here. It fulfilled the "something old and something blue" requirement. For a brief moment before giving my sister-in-law her gift, I thought about making the gift a loan so it could be "something borrowed" too.  But of course, I didn't.
Antique lace collection.
Photo courtesy of Ali Boncha.
Millinery supplies at Lacis.
Photo courtesy of Ali Boncha.
Vintage Patterns
Photo courtesy of Ali Boncha.
Sample vintage patterns.
Photo courtesy of Ali Boncha.
The wedding room at Lacis.
Photo courtesy of Ali Boncha.
Our final destination for the day was a quick stop to Discount Fabrics just down the road from Lacis on Ashby Avenue.  We walked in surprised to discover that everything in the store was marked down an additional 20% except for lace. Wouldn't you know it? It was the lace that I really wanted.

Discount Fabrics is a huge warehouse located in the former Straw Into Gold location.  All the fabric comes from long rolls rather than bolts. It's really the more professional way to store fabric without adding a folded crease like most fabric bolts. The rolls are stacked, standing up in barrels, and beautifully hung.  Getting through the stacked bolts require some digging and elbow grease. I was so tired from shopping that I barely had the energy to push my cart around the store, but I had some fumes leftover to find a couple pieces of lace and funky black and white cow printed vinyl. The vinyl's black print is a synthetic velvet, and the white pleather reminded me something Nancy Sinatra might wear while singing "These Boots are Made for Walkin."

Discount Fabrics is a good supplier for home furnishing materials, sequined fabric, and trimming. There's ample fashion fabrics at great prices. Denim was on sale that day for less than five dollars a yard. Prices are better very reasonable and worth a trip. Discount Fabrics reminds me a lot of the stores in LA's fabric district. I grew up in LA, and spent many hours combing through these streets in high school purchasing costume materials for my dance group. Look for a future blog on LA's fabric mart probably late Winter 2014.

Discount Fabrics also has stores in San Francisco, including their main location South of Market on 11th Street. I plan on checking out the SF store one day soon too.
My burnt velvet pleather cow piece.  This is planned for another
version of the Amy Butler bag. 
We ended our long day with coffee at Cafe Trieste, and fond goodbyes from fellow sewists. By the time we got to coffee, we had lost 40 percent of our original sewists.  The die-hard group were the gals from the South Bay. Yah!

Enjoy the rest of the pictures and resource links below and happy sewing!

RESOURCES

There were a couple of places that got mentioned for fabric shopping outside (but near) Berkeley that you might be interested in if you spend more than a day in the East Bay. One is a new store called Urban Burp which sells vintage fabric and accessories.  They also have an online store. This is definitely on my list for stores to visit. The second is operated by former employees of the now closed Poppy Fabrics. For old residents of Oakland and Berkeley, Poppy Fabrics was a regular stop for sewists and carried a good selection of quilting and home decor fabrics. The store site remains empty, but its replacement is Piedmont Fabrics down the hill.

For you weavers and yarn enthusiasts, Straw Into Gold has moved to Richmond after operating at the now Discount Fabrics location for 30 years. Sadly, they are only a wholesale, online store now.  See link below.

Stonemountain and Daughter: http://www.stonemountainfabric.com/
Lacis: http://www.lacis.com/
Great blog with more pictures of Lacis at Toni's Vintage Trips: Link Here
Discount Fabrics: http://www.discountfabrics-sf.com/
Urban Burp: http://www.urbanburp.com/
Piedmont Fabrics: http://piedmontfabrics.com/
Straw Into Gold: http://www.straw.com/sig/sigmenu1.html

Ponte knit, wool tweed stretch fabric (multi-colored), and snake skin polyester fabrics
from Stonemountain and Daughter. 
A very heavy burnt orange two-way stretch knit that can be used for unlined jackets,
and anything bottom weight. The bottom gun-metal grey/blue fabric is 100% tropical
stretch wool. I bought the last three yards at $11 a yard. 
Purple and black lace from Discount Fabrics. The purple lace was $6.80 a yard.
The black lace was about $7 a yard.
Wool fabric on left, and the fuchsia chiffon on right. Both from
Stonemountain and Daughter.


Tuesday, September 10, 2013

Pattern Transfer Paper Troubles? - Product Review

Since the tailoring supply shop went out of business in Oakland, and the demise of stores like Greenberg and Hammer, finding good quality sewing supplies is getting scarcer and scarcer, even in the fashion hubbubs of NYC and LA. When I was studying fashion design, suppliers in the Bay Area were already getting slim. If it were not for the Internet, quality supplies for the home sewist would be dismal.  But when it comes to pattern transfer paper, it is dismal. I'm talking about waxed transfer paper that is.

I still have three small sheets of waxed pattern transfer paper that has held up since design school, and they work okay. When the thought of replacing them popped up, I no longer had a source.  So I turned to the non-waxed sheets from Dritz and Clover, and those sheets do not cut the mustard.
Doesn't look too bad for 15 yrs+ in age huh?
Side note: the waxed sheets transfers are considered permanent. Don't be afraid of them.  Transfers that don't rub, fade or bleed can be our best friend. Just make sure to trace on the backside of the fabric. For muslin work and transferring permanent patterns, waxed paper is indispensable. For less permanent jobs, I use tailor's chalk and sometimes a good old number two pencil (careful where you use the pencil though).

Dritz and Clover paper are subpar, but the upside is they aren't permanent, and won't leave a mark on your patterns. Seriously, no mark. So when you need to see those perfectly traced darts for stitching, they'll be gone. The powdery chalk smears and rubs off onto areas that you don't want it to go. But they aren't permanent you say and what if I make a mistake? Well...if some sewists grew up coloring outside the lines no matter how hard they tried, then my advice would be to stock up on more than one color, so a redo can be traced with the second color. For example, from blue to red or yellow to blue on light-colored fabric.

Powdery Dritz paper, but Clover sheets are a tad larger.
Enter Saral transfer paper. It got some pretty good reviews on Amazon, which is where I ordered mine. I picked up two rolls, one in white and one in red to test on future projects. On a recent trip to Joann's Fabrics, I found a packet of multiple color Saral paper hanging next to the Dritz sheets for about $10. These sheets only only 8x11" in size, so really too small to be useful in my opinion. The rolls I got were about $14 each, but you get 12 feet of transfer paper. I prefer a more narrow and long size when adding seam allowances. Makes the work go by faster.

Saral looks and feels like Dritz and Clover's paper, but less chalky and on the flimsy side. Clover paper is the thickest probably because you need to use brutal force while pressing down on your tracing wheel to get the transfer. Clover is doing you a favor by making it thicker so you don't trace right into your fabric or permanent pattern.

Saral paper can be purchased at your local store, so it's my second choice, and a product I would use when I don't want wax on my project.  Pressing fabrics with wax on it, might not be good for irons. So as much as I love my waxed paper, I have to remember to use a pressing cloth on the backside of the fabric if wax lines are visible.
You can get rolls directly from Amazon.
I am miffed by the fact that I only located two sources on the Internet that carries waxed transfer paper. With industrial pattern drafting digitized, maybe these sheets are becoming more obsolete in the design rooms as well?  Getting good tools for sewing is increasingly more difficult. Can it be that the methods in which the modern sewists creates has changed? If you haven't watched the UK television show, the Great British Sewing Bee, get to YouTube and find it. The last winner was 81-year-old Ann Rowley with 75 years of sewing experience. If you get a chance to watch her sew, you'll learn how she grew up making clothes the "proper" way (by hand), and not buying it off the rack from the stores. Ready-to-wear was once a new concept for people, and Ann Rowley reminds us of a time and a craft that should never become bygone.

I ordered my new supply of waxed sheets from Sunni Standing at "A Fashionable Stitch." I found her store by accident while researching how to create a good waistband stay. Sunni wrote a blog about grosgrain ribbon used in waistbands. I found the waxed sheets in her store while poking around for grosgrain ribbon.  Sunni sells some hard-to-find sewing supplies that I need (or didn't realize I need) to help me sew well.  It's like Sunni heard me complaining and opened a store just for me. If you don't know Sunni, she offers a free Craftsy class called "Mastering the Zipper Technique."

Each waxed sheet arrived poster size (26x39"). There's enough to last me another ten years at least. Now I have a big enough sheet to lay down over my fabric without moving it from place to place (which often cause fabric shifts).  I ordered two sheets of red and one yellow. I recommend a color for dark fabrics and another for light. Sunni sells them for $10 a sheet plus shipping and handling.  The sheets are big enough to split them with a friend.

Look how big and beautiful they are:

The other place that sells waxed transfer paper is Richard the Thread down in the West side of LA in Culver City. I discovered it by accident during a Google search and found a user group discussing about how they can't find waxed transfer paper either.  See? It's not just me looking.  Several of the sewists there mentioned Richard the Thread. Isn't that a great name?

Richard the Thread used to have a $30 minimum purchase on their online ordering system.  This policy was still in place when I placed my order with Sunni.  I just checked their site again, and it's changed; no more minimum. Lots of folks on the Internet were complaining about this old requirement. (I know why they requested a minimum, but it's too long to get into today.) They offer a couple extra colors and charge $11.85 per sheet. Richard the Thread also carries difficult-to-find supplies.  BTW, I read that the former Greenberg and Hammer stocked their transfer paper directly from the family who still made the sheets by hand. Can you imagine getting anything still made from hand? A wonderful history is attached to these sheets.

I did a little sample tracing test on a piece of cotton muslin using roughly the same color from each brand.  I hope you can see it...but if you don't see the lines on the muslin clearly, just imagine what your real project will look like.  Look how perfect the waxed sheets are? The Saral sheets are acceptable. If I had to force myself to choose between the Dritz and Clover, even though they are almost identical, I might go with the Clover, simply because their sheets seem more durable. But really, save your money and get the Saral if you want non-waxed paper.  The last photo at the bottom is my old waxed sheet, still going pretty strong considering its age!  Happy sewing!


Look how clear you can still see this. Not bad looking huh?

Tuesday, September 3, 2013

Upcycling Curtains

The weather has been strangely humid and warm this week. It's made sewing a bit uncomfortable in my non-air conditioned studio. I snapped this photo yesterday evening at dusk. You can see the sky has two layers to it. The outer layer was a thick cloud, and right above it was the last glimpse of yesterday's sun. I rarely notice the shift from day to night, but the clouds depicted the transition perfectly.

I have been the recipient of free fabric. We have had a few fabric stash swaps at a couple of our sewing meetings where I collected some really nice fashion fabrics. I got some home decor fabric from FABMO, a local non-profit organization in Mountain View.  If you live in the San Francisco Bay Area, and particularly on the Peninsula or South Bay, get yourself on the mailing list and calendar over at FABMO. They basically collect donated home decor and numerous odds and ends from designer showrooms that a creative mind can upcycle into new creations. They also accept donations from individuals or other retailers or wholesalers. FABMO opens once a month to the public and once you reserve a time to go in, you can gather supplies and pay a small donation before you leave.  Suggested donations is based on how much you take. It can be zero dollars to $100-plus.  Remember that some home decor fabrics costs as much as $50 and up a yard, so the savings are significant. I might have to devote a whole separate blog on FABMO later this Fall.

I've collected a handful of FABMO-donated fabric swatches and very nice sample curtain panels. One was in a cute cream and tan gingham heavy cotton that I used as a muslin for a pant pattern that I was trying to fit. The curtain panels were full length and about 30 inches in width.  Even though they were more narrow than regular cut fabric, There was enough length to create this muslin, and with a little leftover.  The muslin is wearable, but not the best fit. I'll need more adjustments to the crotch area, but at least, I don't have to throw this muslin away because it's still a functional pair of throw-around pants! The canvas is a bit thick for our hot summers, but great for Fall and Spring.
A second curtain panel was a lovely heavy blue and tan linen. I turned it into a tote bag and lined it with new owl printed cotton. Sewn on the curtain panel were swatches of the same fabric but in different colors. The swatches were piped with navy blue around the edges, and a perfect size for pockets on the tote. I left the embroidered name of the fabric and style number on the swatch adding to the bag's character.  My daughters were impressed with the fabric and requested their own bags.


This first prototype will be a birthday gift for a friend next week. It's an owl-themed gift, and I'm using the tote bag as the "gift box" rather than wrapping her other gift which is a ceramic owl. I really like the idea of DIY gift wrap.  In fact, I'm thinking of making functional gift bags for future use. Some of FABMO's fabrics are very elaborate, and perfect for gift adornment that can be easily re-gifted! I interior lining and the pocket trim is made with a cute cotton owl print.

This tote bag gave me a chance to practice on some of the interfacing stabilizers that I plan on using for my next project, the Amy Butler Weekender bag. I used a woven fusible interfacing on the exterior linen fabric and not only did it give it shape, it also kept the linen from stretching too much during the sewing process. I did not line the interior piece, had I done so, the bag would probably be able to stand up.

For the lining, I added an inside pocket, and sewed a thick piece of Pellon called Peltex to the base. This was not the most efficient way to put it together. I learned this later after watching the bag making video on Craftsy. But for the first time, I don't think I did too bad. Because of the owl theme, I couldn't use all recycled fabrics for the bag, so it was really about 40% if you include the new interface and woven strap handles.

I used the owl fabric to create a bias tape to the
opening of the fabric. 
Inside lining of the bag.
The bag is actually reversible.  
Here are more home decor fabric sample swatches
that I pieced together to make my Bernina cover.
Here's the completed cover...sorry about the lighting. I need
to make about three more covers for my other machines.
Here's the cover inside out. It could have been a tote bag too.